Article By:- Gaurav Dhakal
If you also love woolen mufflers, you might want to know how to make handmade woolen muffler by yourself. Don’t you? Knitting a woolen muffler is something that fascinates a lot of people. This is a skill that’s really interesting to learn. Hand-knitted mufflers are really worth the learning.
If you’re wondering about how exactly to make a muffler with your hands, don’t worry. You’ll find out in this article if you stay till the end. You can follow various processes to make different types of woolen muffler designs. But the one presented here is the easiest one, making it easy to knit mufflers for beginners.
This article guides you step-by-step on how to make a handmade woolen muffler. Hence, you’ll be able to make a beautiful woolen muffler by yourself.
So, let’s get started.
What is a Handmade Woolen Muffler?
A handmade woolen muffler is a rectangular or square piece of cloth that people make with their hands and is usually worn around the neck. The muffler is a handicraft consisting of different colours of thread. It is made of wool yarn, which is used widely by people during winters for warmth around the neck region. Wearing mufflers also has its own importance in terms of fashion. They are also typically used to enhance the attire. It makes people feel adequately dressed up.
Mufflers were started to be made in the 1940s and were seen to be used in ancient Rome for the first time. They were then used to keep the neck part clean rather than warm. In the 20th century, mufflers were already one of the most basic and functional pieces of clothing in people’s attire. History also suggests that mufflers were used to determine the status of Chinese fighters during the time of Chinese Emperor Cheng.
Check Out The Best Winter Woolen Mufflers By Woolmandu
Materials Required to Make Handmade Woolen Mufflers
Different materials are required before you start knitting woolen muffler designs on your own. Here’s a list of all the materials needed.
1) Double Knitting Woolen Yarn

Make sure your wool is double knitting wool. For this, you can check the label. You might need 250 grams of wool on average for muffler design knitting. You can choose wool of the same or different colours.
2) Crochet Needles

Make sure to buy at least two crochet needles. Also called knitting needles, they help you to knit your muffler. While buying these needles, select a needle whose size is 4.5 mm.
Step-By-Step Guide on How to Make Handmade Woolen Muffler
This portion of the article consists of the step-by-step guide to making mufflers with hands. This guide makes knitting mufflers easier for beginners.
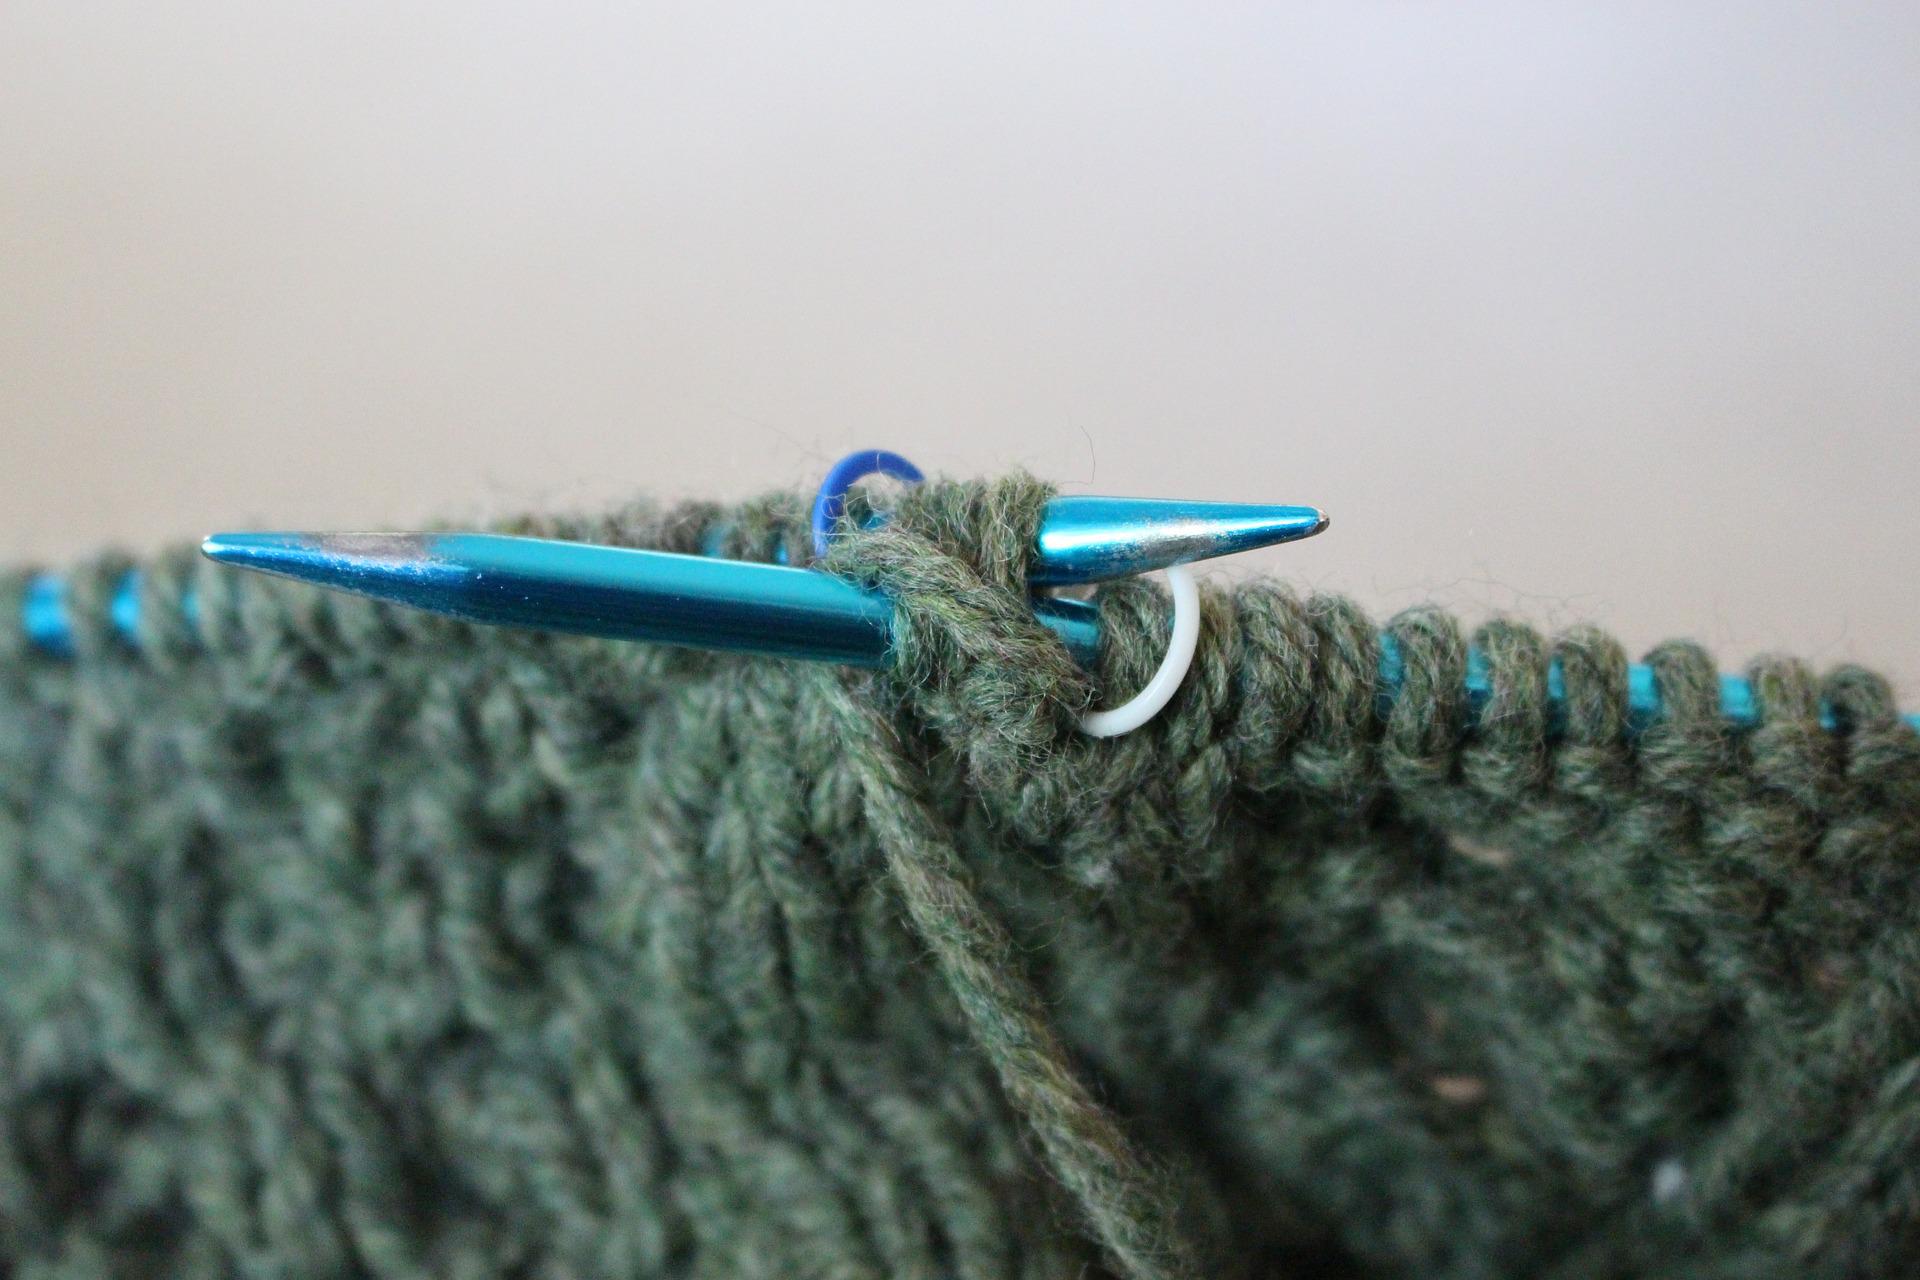
Step-1: Cast Stitches
While knitting a muffler for beginners, the first step is to cast the appropriate number of stitches required to handmake a muffler. The best number of stitches to cast is about 40 in approx. But do you really know how to cast a stitch? Even if you don’t, there’s nothing to panic about as you’re going to find out right now.
Watch the Below Video to Find Out:
Step-2: Knit First Row
The second step to take while knitting a woolen muffler design is to knit your first row. There will be approx—40 stitches in a row. So, after you knit your first row, you’ll have to repeat the process until all 40 of your stitches have been knitted. The garter stitch, also known as the most basic knit stitch, is the one you can learn as it’s simple.
Watch This Video to Learn How to Knit Your First Stitch:
Step-3: Swap Needles
The third step to take while learning how to make handmade woolen muffler is to swap your needles. After you’ve knitted all the 40 stitches in a row, you’ll need to transfer all of your stitches from the first needle to the second one.
For this, you simply need to swap your knitting needles after you finish knitting every row. Make sure that the stitches you’re knitting are on the needle in your left hand.
The only thing you need to do after finishing the above process is to repeat step 3. Just knit your muffler all the way along every row again and again until you obtain the desired length for your muffler.
Step-4: Cast Off Your Muffler
The last step to take while doing the muffler design knitting is to cast off your muffler. After your muffler is of the desired length, you will need to cast off the muffler.
For this, you will need to knit two stitches, lift the first stitch over the second stitch, and then lift it out off the needle. Finally, take the wool through the stitch when you have only one stitch left to knit on your needle and then pull it tight to tie a knot.
Watch This Video if You Have Difficulty Casting Off Your Muffler:
If you make a mistake while knitting a stitch making your stitch fall off the needle, we have a solution for you.
Watch This Video if You Have a Dropped Stitch:
Conclusion
If you’re already at this portion of the article, congratulations! You have already learned the basics of how to make handmade woolen muffler. The step-by-step guide in this article will make your urge for handmade muffler design knitting come true. But, as long as you practice this skill yourself, it is not going to yield results for you. Even with the knowledge provided in this article, practice is the only thing that can make you beautiful woolen mufflers in the end. With practice, you can master knitting different types of woolen muffler design with your hands.
If you find this article helpful, share it with your friends and family who also might be interested in learning to knit a woolen muffler with hand just like you. Also, do let us know about anything you have to say in the comments below.
Thanks for reading!